A Step by Step Guide for an Above Ground Pool Installation
Installing an above ground pool is a rewarding project that can transform your backyard into a refreshing oasis. While the thought of setting up a pool might seem daunting, with a little preparation and the right tools, it can be done efficiently. This step-by-step guide will walk you through the process of above ground pool installation, from planning to the final touches.
1. Choose the Right Location
Before diving into the installation process, selecting the best location for your pool is crucial. Look for a flat, level area in your yard that’s free from trees or other obstacles.
Ideally, the ground should be smooth and solid, with minimal slope. Avoid areas where tree roots or rocks might cause problems in the future.
Ensure the site is accessible for equipment and delivery of materials. Additionally, make sure that it complies with any local zoning laws and regulations, including those regarding pool size, fencing, and distance from property lines. Some regions may require permits, so it’s important to check local codes before starting your pool installation.
2. Prepare the Site
Once you’ve chosen the perfect location, the next step is preparing the ground. Start by clearing the area of any debris, rocks, or vegetation. This will create a clean and safe foundation for your pool.
Next, use a shovel or a lawn edger to remove any grass or weeds that could interfere with the installation. A smooth, even surface is key to preventing future issues, such as uneven pool walls or liner wrinkles. Depending on the size of the pool, you may want to rent a skid-steer or hire a professional to ensure the ground is properly leveled.
3. Mark the Pool’s Shape and Size
Now that your site is clear, it’s time to mark the layout of the pool. Using a measuring tape and stakes, outline the shape of the pool on the ground. Most above ground pools are round or oval, so measure and mark the perimeter accordingly. Double-check the measurements to make sure the pool fits well within your designated space.
If you’re unsure about the exact positioning, use a string or a garden hose to create smooth curves for a round pool or straight lines for an oval one. Once the shape is accurately marked, you’ll be able to move on to leveling the ground.
4. Level the Ground
One of the most important steps in an above ground pool installation is leveling the ground. The pool’s walls must be perfectly level to ensure stability and prevent damage over time. Using a carpenter’s level or a long board with a level attached, check the area for any high or low spots.
To level the ground, you may need to add or remove soil to ensure a uniform surface. For larger pools, it’s often recommended to use a laser level to make the task easier and more precise. Once the ground is level, compact the soil to create a firm, solid base.
5. Install the Pool Base Material
After leveling the ground, the next step is to install a base material. Pool base materials help protect the pool liner and provide additional support for the structure. There are various materials available, including sand, vermiculite, or foam padding. Choose one that best suits your budget and pool type.
Spread the material evenly across the ground, making sure it covers the entire area inside the pool’s perimeter. Use a rake to level it out and smooth the surface. After the base material is evenly distributed, compact it with a hand tamper or plate compactor to ensure it stays in place and provides a sturdy foundation for the pool walls.
6. Assemble the Pool Kit
Once the site is prepared, you can begin assembling the pool. Most above ground pool kits come with detailed instructions, but it’s still helpful to have a friend or family member to assist with the process.
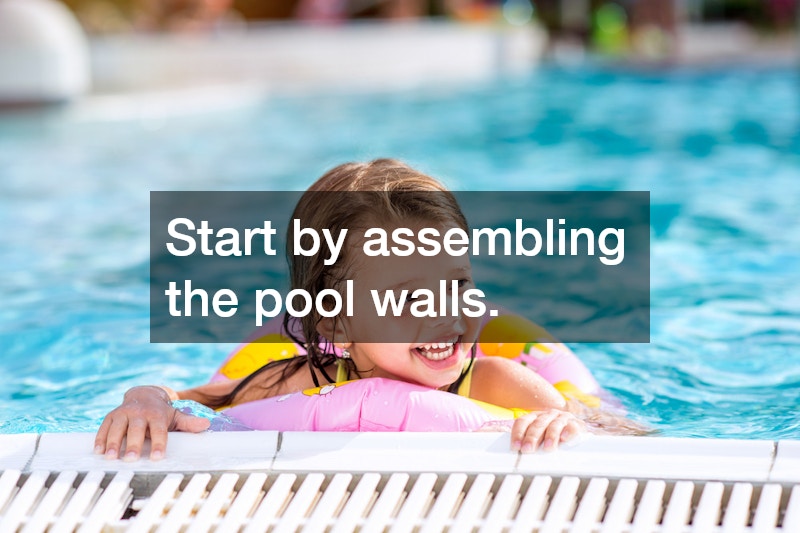
Start by assembling the pool walls. Begin at one end and work your way around, following the manufacturer’s instructions to ensure the walls are properly secured. Many pool walls are made of metal or resin, which require bolts to hold them together. Carefully attach the wall sections, making sure they are aligned correctly.
After the pool walls are secured, you can install the pool liner. The liner fits over the pool walls and is designed to hold the water inside the pool. Make sure the liner is smooth and free of wrinkles as you install it to ensure a tight fit.
7. Set Up the Pool Frame
With the walls and liner in place, it’s time to install the pool’s frame. This typically involves connecting support beams and securing them to the walls. Follow the instructions carefully and double-check the stability of the frame before moving on to the next step.
The frame is what will hold the pool in place, so it’s essential to make sure it’s properly aligned and securely fastened. If your pool includes a pool ladder or other accessories, now is the time to install them.
8. Fill the Pool with Water
With the frame and liner in place, it’s time to fill the pool with water. It’s important to add water slowly to avoid damaging the liner or shifting the pool walls. Begin by filling the pool with a few inches of water, then check the alignment and adjust as needed to ensure everything stays in place.
Continue to add water, periodically checking the pool’s level and ensuring the liner is smooth. Once the pool is fully filled, you can proceed with the final setup steps.
9. Install the Pool Pump and Filter System
A functional pool pump and filter system are essential for keeping your pool water clean and circulating. Follow the manufacturer’s instructions to set up the pump and connect the filtration system to the pool. The pump should be placed outside the pool area, and the hoses should be connected securely to avoid leaks.
Once the system is set up, turn it on to ensure proper function and make sure the water is circulating effectively. It’s also a good idea to install a pool skimmer to remove debris and maintain water quality.
10. Add Final Touches
After filling the pool and setting up the pump system, it’s time to add any final touches. This may include installing a pool cover, adding a deck or patio area around the pool, or landscaping the surrounding area. You can also adjust the pool’s pH and chlorine levels to ensure the water is safe for swimming.
Conclusion
Above ground pool installation is a big task, but with the right approach and careful attention to detail, it can be a smooth and rewarding process. By following these steps, you’ll not only set up your pool successfully but also ensure its long-term durability and enjoyment. Whether you’re new to pool installation or a seasoned DIY enthusiast, taking your time to properly plan and execute the process will lead to a beautiful backyard retreat for years to come.
.
 What Home Projects Benefit From a Dumpster
  The Ultimate Guide to Managing Your Property’s Trees
  The Bathroom Remodeling Guide for Young Homeowners
  3 Warning Signs Your Windows Need Replaced
  Dealing with Major Roofing and Water Damage Issues
  How to Choose the Right Home Remodeling Services for Your Project
  Where to Place Kitchen Cabinet Handles: Top Placement Tips for a Functional Kitchen