What You Should Know About Siding Installation

New exterior cladding changes how your home looks, performs, and ages. Start by confirming the structure is dry and sound; replacing rotten sheathing or trim before panels go up prevents hidden problems. Ask how the crew will handle water management, including flashing, housewrap, and window integration, because most leaks begin at transitions. Material choice matters for climate and upkeep. Fiber cement resists fire and insects, vinyl offers quick installs and wide color ranges, and engineered wood delivers warmth with improved stability.
Fastener type, nail depth, and expansion gaps should follow the manufacturer guide, or warranties can be at risk. Ask to see sample details for window head flashing, kickout flashing, and ledger interfaces before work begins on your home.
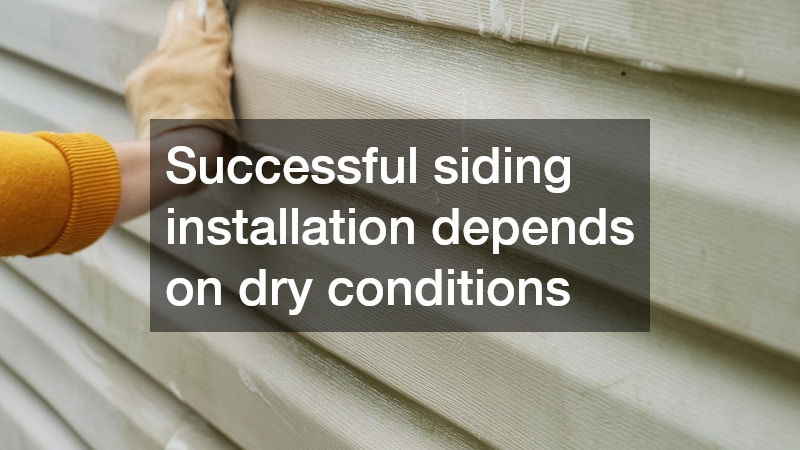
Planning also affects comfort and costs over time. Insulation upgrades, rainscreen gaps, and ventilation behind cladding help walls dry after storms, which preserves paint and reduces seasonal movement. Confirm details around corners, soffits, and penetrations for a clean finish that sheds water rather than storing it. If you are comparing bids, request line items for tear-off, disposal, flashings, trim, and caulking, plus a sample of the daily cleanup routine. A clear timeline is helpful, but watch the weather; successful siding installation depends on dry conditions and proper temperatures for caulk and paint. After completion, document maintenance steps, then schedule a quick check each spring. With thoughtful choices before and during siding installation, you protect curb appeal, energy performance, and resale value for years.

 3 Warning Signs Your Windows Need Replaced
  Dealing with Major Roofing and Water Damage Issues
  How to Choose the Right Home Remodeling Services for Your Project
  10 Ways Remodeling Improves Energy Efficiency and Comfort
  Most Common Causes of Roof Repair
  Affordable Skylight Services to Brighten Your Home Naturally
  Balancing DIY Projects With Professional Help
  5 High Ceiling Accent Wall Ideas for a Modern Minimalist Living Room