A Step-By-Step Guide to Fence Installation
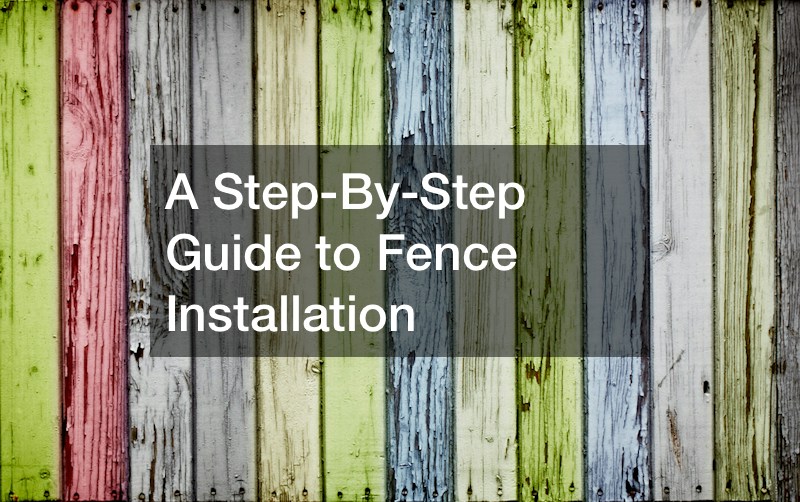
A fence installation project can be intimidating for first-time homeowners. But with some guidance and a step-by-step guide, your property will be surrounded by a sturdy fence. It will give you privacy and solitude inside your home.
1) Measure and Mark The Fence Posts
A crucial step in the fence installation process is measuring and marking the posts on your property. It helps to lay the foundation down, as each fence post needs to be aligned perfectly in a row. The most useful tool to complete this task is your tape measure.
2) Digging Fence Posts Holes
After measuring and marking each fence post, you begin digging a hole to set them in place. The hole needs to be large enough to support the fence post. You will need to dig out all underground roots, as they will affect the post’s stability over time.
3) Installing Fence Panels
This step is all about distance and length, as you will visit your local home supply center. It is here that you have your fence panels customized. The height should equal the size of your fence posts after they have been set into the ground. Usually, fence panels are 6–8 feet. Next, measure the distance between each fence post, as this will help determine the number of panels needed to complete the project.

 How to Know When You Should Replace Your Gutters
  What You Should Know About Your Home’s HVAC Unit
  Disaster-Proofing Your Investment A Comprehensive Guide to Modern Home Safety
  Why Homeowners Trust Local Pool Companies for Quality Work
  Your All-in-One Guide to Home Renovations, Roofing, HVAC Companies, and Water Damage Restoration
  What Home Projects Benefit From a Dumpster
  Sequencing Major Upgrades Across Your Property’s Infrastructure
  The Whole Home Longevity Audit
  How to Prepare for Your Move to Your New House